

Before you spend a weekend agonizing over paint chips or countertop samples, take a walk around the outside of your house. Curb appeal and structural soundness on the exterior often reveal problems that will undermine any interior upgrade, from water intrusion to inefficient heating and cooling. Tackling these outdoor priorities first protects your investment, improves your home’s resale value, and gives you a clearer picture of your renovation budget.
This guide walks through the exterior projects worth addressing before you pick up a single interior swatch.
Correct Uneven Concrete Before It Worsens
Sunken walkways, driveways, and patio slabs are more than a tripping hazard; they signal soil erosion or settlement happening beneath your home’s foundation. Left unaddressed, this movement can eventually creep toward your foundation walls and create cracks that are far more expensive to fix than the original slab issue. Many homeowners are surprised to learn that concrete raising companies can lift and level existing slabs using polyurethane foam injection, avoiding the cost and mess of full slab replacement.
This process is typically faster and less invasive than tearing out concrete, often completed in a single day with minimal disruption to landscaping. Addressing this early also means you won’t have to redo hardscaping later after an interior remodel has already drained your budget.
- Look for gaps where concrete meets your home’s foundation
- Watch for pooling water near slabs after rain
- Note any doors or windows that stick, which can indicate shifting soil
- Get a professional assessment before assuming replacement is necessary
Repair Stucco Cracks and Moisture Damage
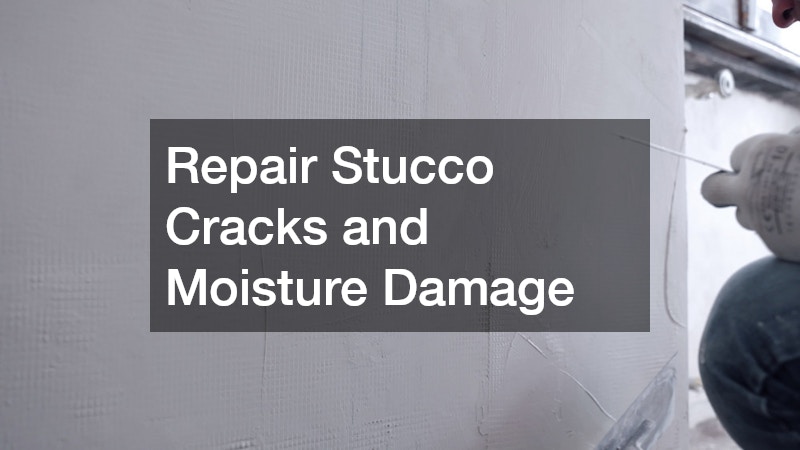
Stucco is a durable exterior finish, but hairline cracks and chipped sections are not just cosmetic annoyances. Moisture can work its way behind damaged stucco and reach the sheathing and framing underneath, leading to rot that spreads unnoticed for years. Experienced stucco contractors know how to identify the difference between surface cracking and deeper moisture intrusion, which requires a different repair approach entirely.
Scheduling this inspection before interior work matters because water damage often travels inward, sometimes showing up as stains on interior walls near windows or corners. Fixing the exterior source first prevents you from repainting or re-plastering an interior wall only to see the same stain reappear months later.
- Check for cracks wider than a nickel’s thickness
- Inspect areas around windows, doors, and roof lines closely
- Look for discoloration or a chalky texture on the surface
- Address minor cracks promptly to prevent water infiltration
Replace or Repair an Aging Roof First
Your roof is arguably the single most important exterior component protecting everything you own, and it should be at the top of any pre-renovation checklist. A roof nearing the end of its lifespan, or one with missing shingles and soft spots, can leak into attic insulation and ceiling drywall, damaging the very interior finishes you’re planning to update. Most asphalt shingle roofs last 20 to 25 years, so if yours falls within that range, an inspection is worth scheduling before you commit to any interior work. Reputable roofers can provide an honest assessment of remaining lifespan and flag any deck damage that needs attention before new shingles go on. During an inspection, ask them to check for curling or cracked shingles, granule loss in the gutters, rusted flashing around chimneys and vents, and any sagging along the roofline that might signal structural issues.
These are the kinds of problems that often go unnoticed from the ground but can escalate quickly once seasonal storms roll through. It’s also worth getting a written estimate that distinguishes between a simple repair and a full replacement, since the cost difference can be substantial. A patch job might run a few hundred dollars, while a full tear-off and replacement can easily reach into the five-figure range depending on the size and material of your home. Knowing which category your roof falls into now will help you budget realistically and avoid the frustration of discovering hidden water damage after your new floors or fresh paint are already in place.
Timing matters here more than almost any other exterior project because roof failures rarely happen conveniently. A slow leak can go unnoticed for months, quietly damaging insulation and framing, before it finally announces itself as a stain on a freshly painted ceiling or a warped section of new flooring. If your roof is over fifteen years old, it’s worth scheduling a professional inspection now rather than waiting until after you’ve installed new carpet or hardwood floors that a leak could ruin. Asphalt shingles typically last 20 to 25 years, but factors like poor attic ventilation, hail damage, or a low-quality initial installation can shorten that lifespan considerably.
During an inspection, ask specifically about curling or missing shingles, soft spots in the decking, and the condition of flashing around chimneys and vents, since these are the areas most likely to fail first. Also check the attic for daylight coming through the roof boards, water stains on rafters, or a musty smell that suggests trapped moisture. Even if a full replacement isn’t necessary yet, targeted repairs now are far cheaper than remediating water damage to drywall, insulation, and new interior finishes later. Budgeting a few hundred dollars for an inspection is a small price compared to the thousands a mid-project leak can cost once interior renovations are already underway.
- Check for curling, cracked, or missing shingles from the ground, focusing on south-facing slopes where sun exposure is harshest
- Look inside your attic for daylight or water stains, especially around vents, chimneys, and valleys where leaks typically start
- Note granules collecting in gutters, a sign of shingle wear that often means the roof is nearing the end of its 20-25 year lifespan
- Watch for sagging rooflines or soft spots underfoot, which can signal structural decking damage beneath the shingles
- Ask about warranty coverage on both materials and labor, since many manufacturer warranties are voided by improper installation
- Get at least two or three contractor quotes and confirm they’re licensed and insured before signing any agreement
Service Your Cooling System Before Warm Weather Hits
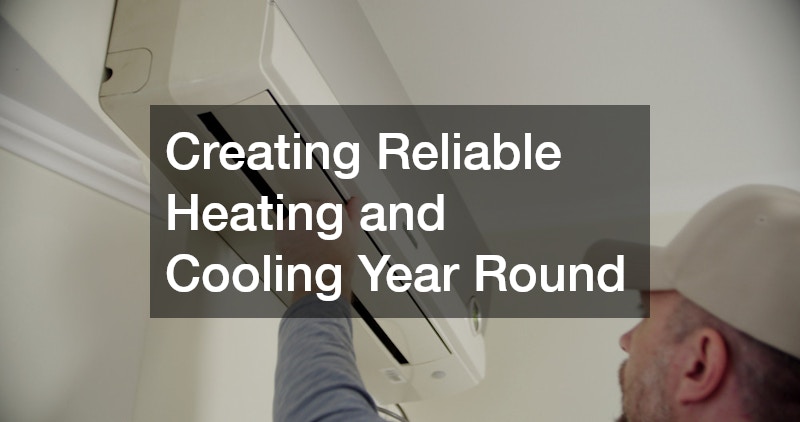
An air conditioning unit that’s struggling to keep up puts unnecessary strain on your home and your wallet, and problems tend to surface at the worst possible time — usually during the first heat wave when every other homeowner on your block is calling for help too. Scheduling AC repair before summer arrives means you avoid emergency service fees and can plan any necessary replacement around your budget rather than reacting to a breakdown. A pre-season tune-up typically covers a handful of key checks: refrigerant levels, condenser coil cleaning, thermostat calibration, and inspection of electrical connections and the condensate drain line. Catching a slow refrigerant leak or a corroded connection in April is a quick fix; ignoring it until July can mean a compressor replacement that costs several times more.
A unit that’s short-cycling, blowing warm air, or making unusual noises is telling you something worth listening to now. Rattling or grinding often points to loose parts or a failing motor, while hissing can signal a refrigerant leak. Even if your system seems to be running fine, most manufacturers recommend annual servicing to protect the warranty and keep energy bills in check. Most technicians recommend booking service in early spring, before the seasonal rush hits and appointment slots fill up. If your unit is over ten years old and needs frequent repairs, ask your technician whether continuing to patch it makes financial sense compared to investing in a newer, more efficient model.
This matters for interior planning too, since a failing system can mean higher humidity indoors, which affects everything from paint adhesion to how quickly mold can develop in bathrooms or basements. Ideal indoor humidity sits between 30% and 50%; once it climbs above that, freshly painted walls can bubble or peel, and wood trim or cabinetry can start to swell. A basic professional tune-up typically runs $75 to $200 and covers refrigerant levels, coil cleaning, and electrical connections — a small price compared to the cost of repainting a room or treating mold after the fact.
While you’re at it, replace the air filter and confirm the condensate drain line isn’t clogged, since a backed-up drain is one of the most common causes of unexpected indoor water damage. Getting your cooling system checked and tuned gives you one less variable to worry about while you’re focused on interior finishes. It also means you won’t be scrambling to schedule an HVAC technician mid-renovation, when a breakdown could delay drywall work, flooring installation, or anything else sensitive to moisture and temperature swings.
- Replace air filters monthly during peak usage season, or every 60-90 days in milder climates
- Listen for grinding, squealing, or rattling sounds, which often signal worn belts, loose parts, or motor issues
- Check that airflow is consistent across all vents, and note any rooms that feel noticeably warmer than others
- Inspect the outdoor condenser unit for debris, leaves, or overgrown vegetation blocking airflow
- Confirm the thermostat responds accurately by testing it against a separate room thermometer
- Schedule annual maintenance even if the system seems fine, ideally in early spring before technicians get booked solid
Consider Ductless Heating and Cooling for Additions
If you’re planning to finish a bonus room, convert a garage, or add square footage as part of your larger renovation, extending existing ductwork isn’t always practical or cost-effective. Ductless mini split heat pump installation offers a flexible solution that provides both heating and cooling to individual rooms without major structural changes. These systems mount directly on a wall and connect to an outdoor compressor through a small conduit, making them ideal for additions or converted spaces.
Beyond convenience, these systems tend to be highly energy efficient since they allow you to condition only the rooms in use rather than running a whole-house system constantly. This is worth discussing with a contractor early in your planning process, since the placement of the outdoor unit and indoor head can affect your exterior wall and landscaping decisions.
- Ask about zoning options if you have multiple rooms to condition
- Confirm the outdoor unit placement won’t interfere with walkways
- Compare energy costs against extending traditional ductwork
- Check manufacturer warranties on compressors and parts
Freshen Your Landscaping Beds and Borders

Landscaping is often the first thing visitors and potential buyers notice, and it’s one of the most affordable ways to boost curb appeal before tackling interior projects. Ordering bulk landscape mulch for your beds is far more economical than buying bagged mulch, especially if you’re covering a large area or refreshing multiple beds around your property. Fresh mulch also helps retain soil moisture and suppress weeds, reducing maintenance throughout the growing season.
Beyond mulch, consider trimming overgrown shrubs, edging garden beds, and adding seasonal color near entryways to create a welcoming first impression. These updates require relatively little investment compared to interior renovations but make a noticeable difference in how your entire property presents.
- Measure your beds before ordering to estimate mulch quantity accurately
- Choose a mulch color that complements your home’s exterior
- Refresh mulch annually for the best appearance and function
- Pair mulch updates with basic pruning for maximum impact
Replace a Worn or Damaged Garage Door
The garage door often makes up a significant portion of your home’s visible facade, yet it’s easy to overlook until it stops working properly. Garage door companies frequently point out that an outdated or malfunctioning door not only hurts curb appeal but can also compromise home security and energy efficiency. Modern doors offer improved insulation, which helps regulate temperature in an attached garage and, by extension, any rooms nearby.
If you’re planning interior updates to a mudroom or laundry area that connects to the garage, addressing the door first makes sense since it affects both temperature control and moisture entering that space. A new door is also one of the higher-return exterior investments when it comes time to sell.
- Test balance and alignment by disconnecting the opener and moving it manually
- Listen for grinding or shuddering during operation
- Check weatherstripping for gaps or cracking
- Ask about insulated options if the garage shares a wall with living space
Secure Your Property with a New or Repaired Fence

A fence does more than mark property lines; it provides privacy, security for children and pets, and can dramatically improve how your home looks from the street. A qualified fence contractor can assess whether an existing fence simply needs repairs, such as replacing rotted posts or resetting leaning sections, or whether full replacement makes more sense given its age and condition. This is worth resolving before interior work begins, particularly if fence repairs require equipment access through your yard.
Choosing materials also matters for long-term maintenance, since wood, vinyl, and metal each come with different upkeep requirements and lifespans. Getting this project settled early prevents the awkward situation of finishing your interior only to have contractors driving equipment across a freshly landscaped yard later.
- Inspect posts for rot or movement at the base
- Check gate hardware for rust or misalignment
- Compare material lifespans before choosing a replacement
- Confirm property lines before installing a new fence
Update Interior Flooring Once Exterior Work Is Complete
Once the exterior projects are handled, you can move indoors with confidence that leaks, moisture, and temperature issues won’t compromise your new finishes. Carpet companies generally recommend waiting until major exterior work, especially roofing and foundation repairs, is finished before installing new carpet, since dust and debris from outdoor construction can settle indoors. This sequencing also protects your investment, since a hidden leak discovered after installation can mean pulling up brand new flooring.
Similarly, if your renovation includes a kitchen remodel, coordinating with a cabinet company after exterior repairs are complete ensures that measurements and installation schedules aren’t disrupted by unrelated exterior contractors needing access to the same space. Sequencing your projects this way keeps your renovation timeline realistic and reduces the chance of costly do-overs.
- Schedule flooring installation after all major exterior repairs are finished
- Confirm your home is free of active leaks before ordering materials
- Coordinate cabinet delivery and installation around any remaining exterior access needs
- Ask installers about acclimation time needed for new materials
Conclusion
Working through your home’s exterior first, from the foundation up to the roofline, gives you a stable, protected base for the interior updates you’re excited about. This approach not only prevents costly rework but also helps you budget more accurately, since you won’t be surprised by hidden damage mid-project. Start with an honest walk around your property, make a list of what needs attention, and tackle these exterior priorities before the paint swatches come out.